Whether you store customer data, orders or other records in an Airtable base, you can use FactBranch to look up rows and show the results right inside your Dixa conversations.
In this guide you'll learn how to use FactBranch to query an Airtable base and show the results in Dixa using Dixa's custom cards:
If you don't have a FactBranch account yet, create one now. Signing up for a free trial takes seconds and requires no credit card.
You'll also need an Airtable account and admin access to your Dixa account.
Return to the Flow dashboard and click on Create flow, then select Show data in a Dixa custom card.
You are forwarded to the newly created flow and will see the Flow editor.
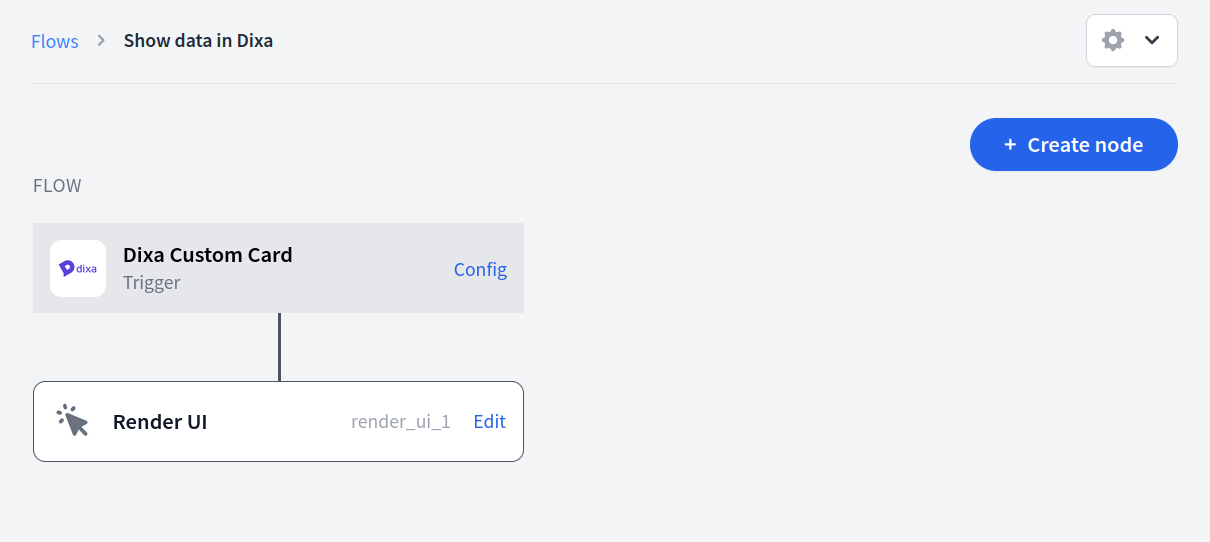
This Flow will be triggered by opening a conversation in Dixa and displaying FactBranch as a custom card. Let's start by creating the custom card in Dixa. Click on Config in the Dixa custom card trigger box.
When you open a Dixa conversation with a FactBranch custom card, Dixa sends some data into your FactBranch Flow. This could be the customer's email address, phone number or conversation ID. It's a good idea to collect some real-world test data before setting up other nodes in your Flow.
To record requests and their contents, switch on record requests on the trigger config page.
Next, we'll create a custom card in Dixa. This loads every time you open a conversation in Dixa and looks up customer data in FactBranch.
On the Dixa Custom Card trigger page in FactBranch, you'll find the steps to create a custom card in Dixa. Here is how that works:
In Dixa, go to Settings > Manage > Integrations > Configure custom cards.
Click on Add custom card to create a new custom card.
Enter a title for this custom card. For example FactBranch.
Copy the following items from the FactBranch trigger page to the Dixa custom card:
Finally, click Save changes. You will now see the FactBranch custom card in the conversations sidebar.
Open a conversation in Dixa. Make sure the FactBranch custom card is being loaded. You might have to click on FactBranch under Integrations to open the custom card. The FactBranch card should be empty, but should not display any errors. If it does and you're unsure what to do, please do reach out to support@factbranch.com anytime.
Head back to the trigger config page in FactBranch and click reload. You should see at least one request in the list of Incoming data.

Click on a recorded request to reveal its content. To use the data from that request as test data for this Flow, click on Use as test data. The trigger's test data below will update and it will become available in the next node.
Don't forget to deactivate Record requests again once you've finished collecting test data.
First, we connect your FactBranch account to your Airtable account. Head to your Airtable account page and find your Airtable API-key in the section API. If there is no API-key yet, generate it and copy it.
Then go to the Flow dashboard in FactBranch, click on Manage authentications, Create authentication and select REST API (we will connect to Airtable via their REST API). Then select Bearer as the Authentication type and paste the Airtable API-key into the field Bearer token.
Finally, rename the authentication by clicking on rename next to the title (by default it's called REST API) and enter Airtable. Hit Save to save the new title and hit Save below the form to create this authentication.
You can now use this authentication whenever you're connecting to the Airtable API in one of your REST API nodes.
Return to the Flow and add a node: Click on Create node and select REST API. This will create an API node that we can use to query your Airtable base.
To use the REST API node in the Flow, drag & drop it from the list of unused nodes directly under the trigger on the left.
We have set up a connection to Airtable, we've collected test data. Now it's time to put everything together and search in your Airtable base.
Click on Edit in the REST API node. You should now be inside the REST API node:
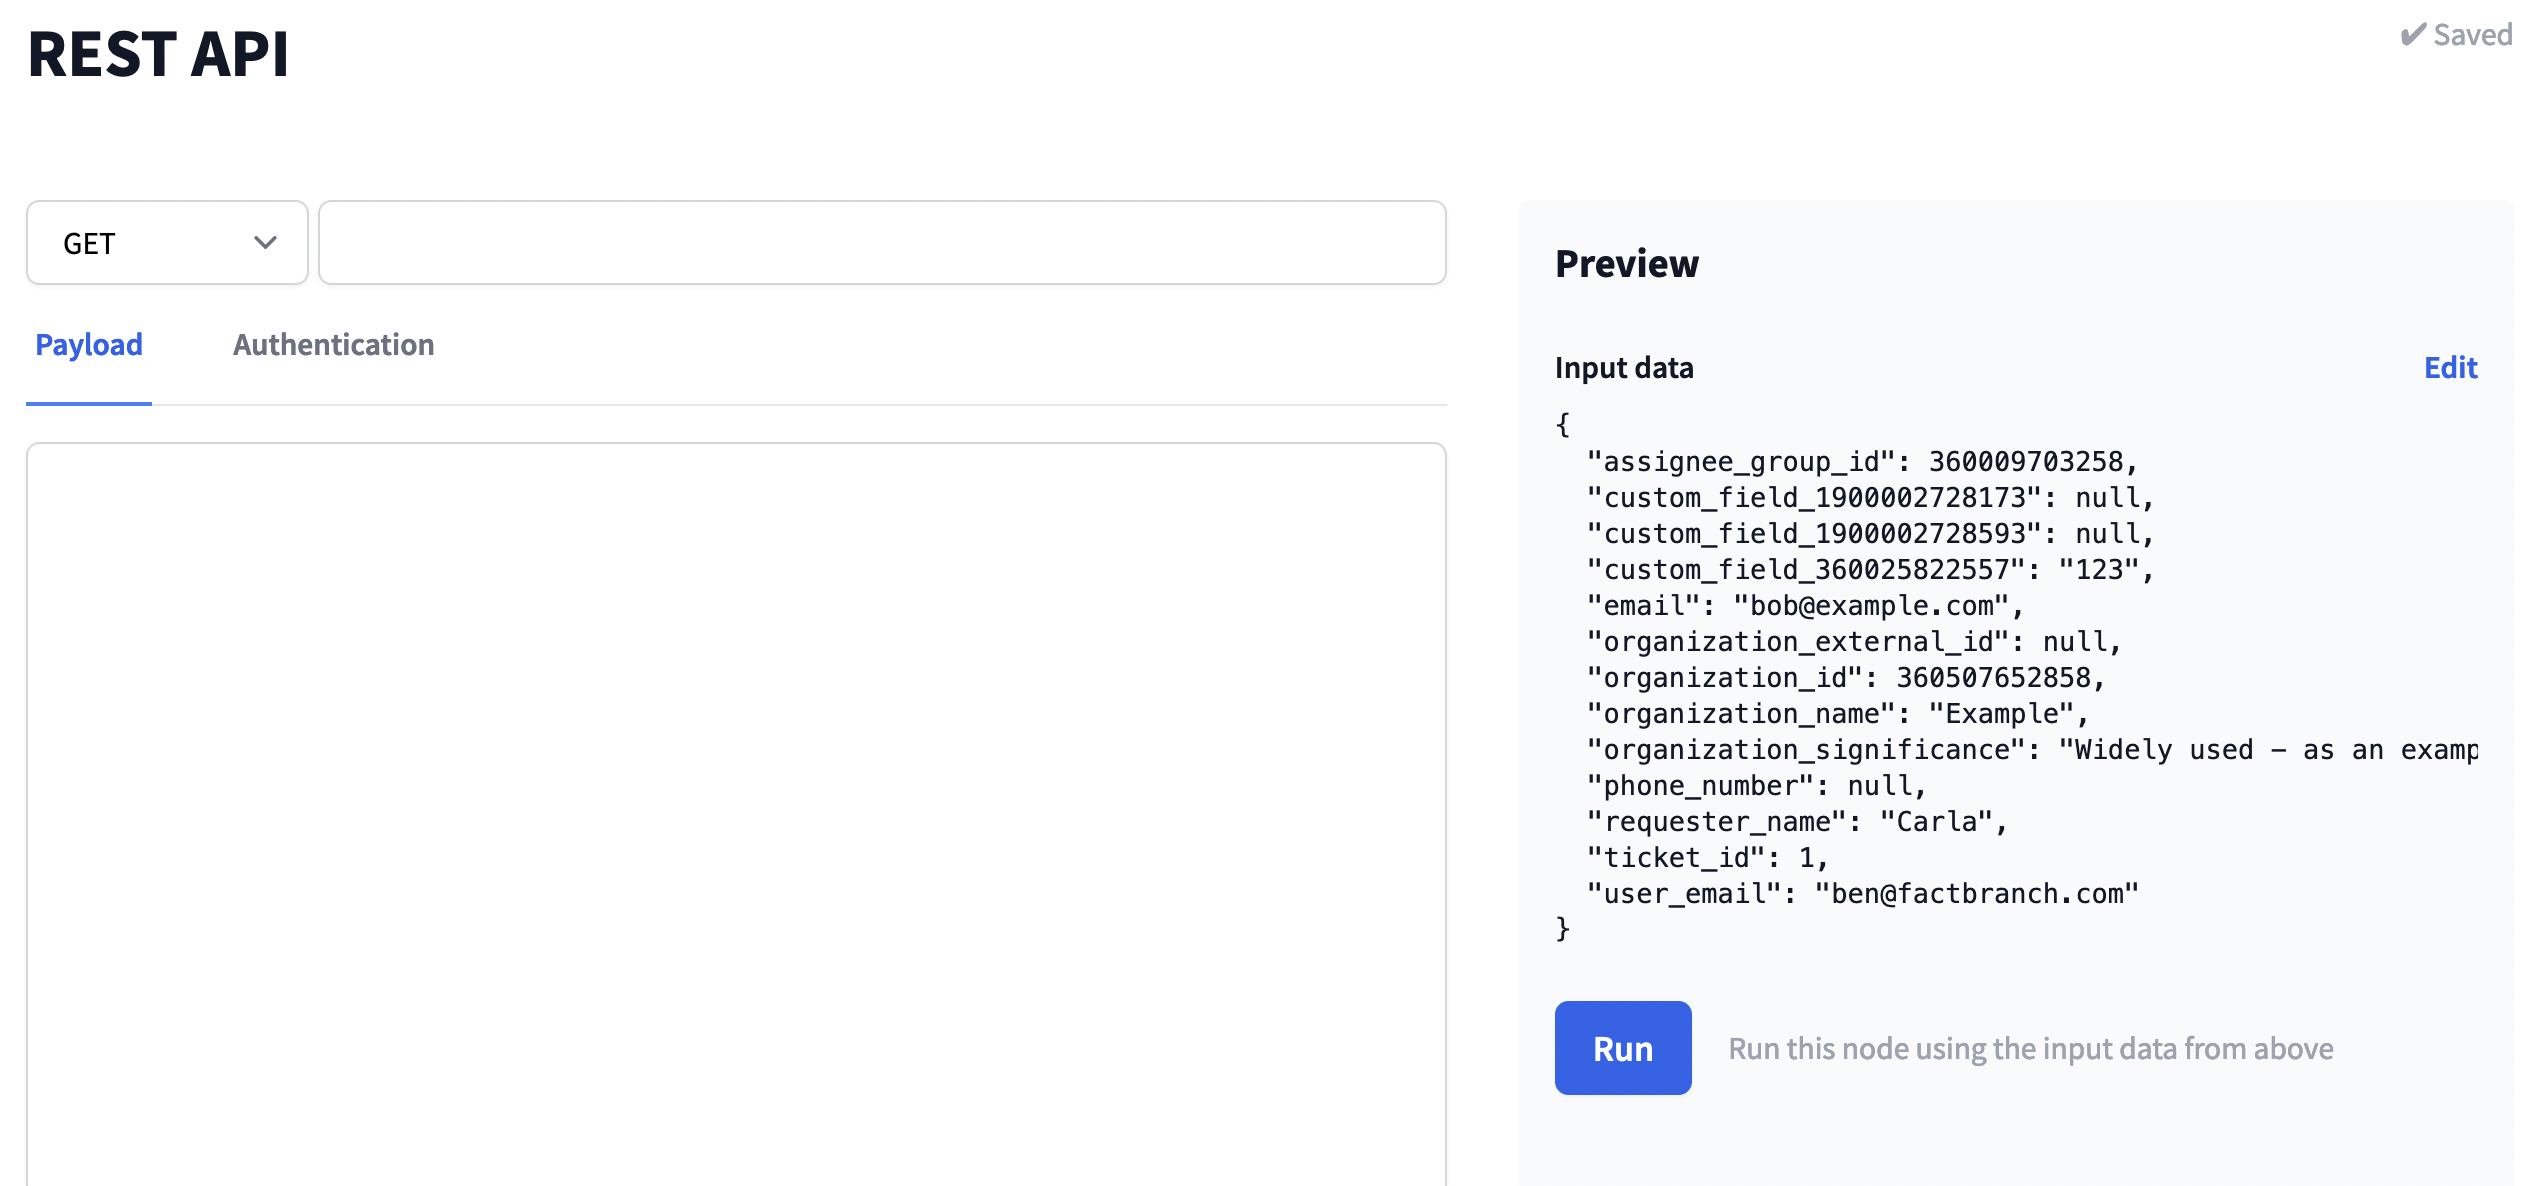
Start by associating this node with the Airtable authentication we've set up earlier: Open the authentication tab by clicking on Authentication and select the Airtable authentication.
Now we need to find out the URL we can use to search your Airtable base. Open the Airtable base you want to use and click on help in the top right. In the help sidebar at the bottom click on API documentation. Your base consists of different tables and we need a URL for a specific table in a specific base. So in the menu on the left find the table you'd like to search, click on it, then click on List records. On the right you'll see the sample request which looks something like this:
Example request

curl "https://api.airtable.com/v0/appwjfdlskfdjslwf/Tasks?maxRecords=3&view=All%20tasks" \
...
Copy the URL beginning with https to just before the questionmark. So in the example above you
would copy only the following:
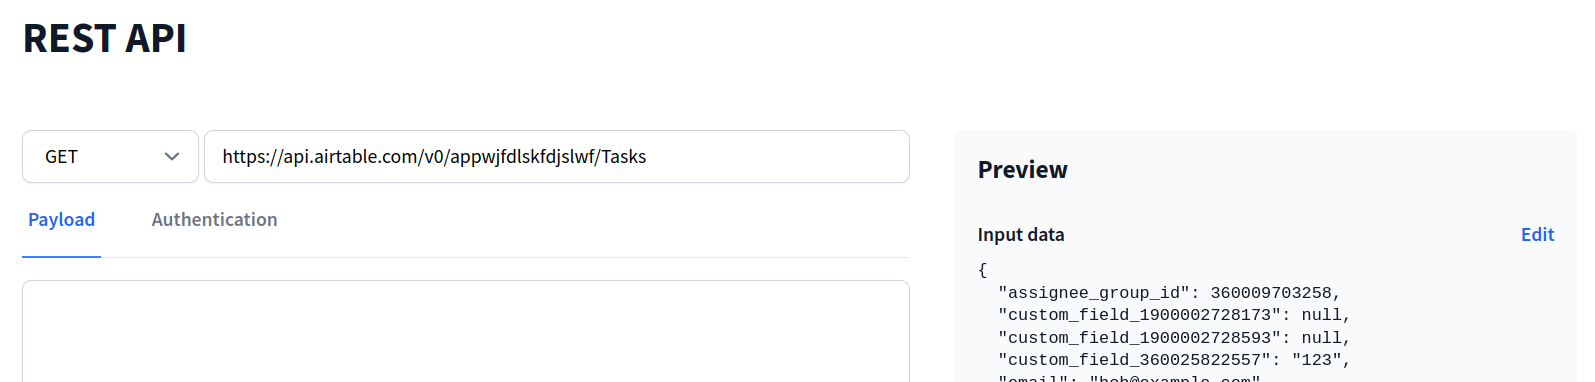
https://api.airtable.com/v0/appwjfdlskfdjslwf/Tasks
Return to the REST API node in FactBranch and paste the URL into the URL-field.
We're almost done! In order to filter the rows in the table we will use
Airtable's filterByFormula parameter and FactBranch's placeholder syntax to
dynamically filter the rows by a certain value.
Let's say we want to filter tasks by the email address of the owner. The email
address comes from the previous node or directly from the trigger in the
property email and in the Airtable the task owner's email address is saved in
the field Owner. Then we would append the following to the URL:
?filterByFormula={Owner}='$data.email'
The full URL we're using in the FactBranch node is:
https://api.airtable.com/v0/appwjfdlskfdjslwf/Tasks?filterByFormula={Owner}='$data.email'
The $data.email part will be replaced by the email property in your input
data.
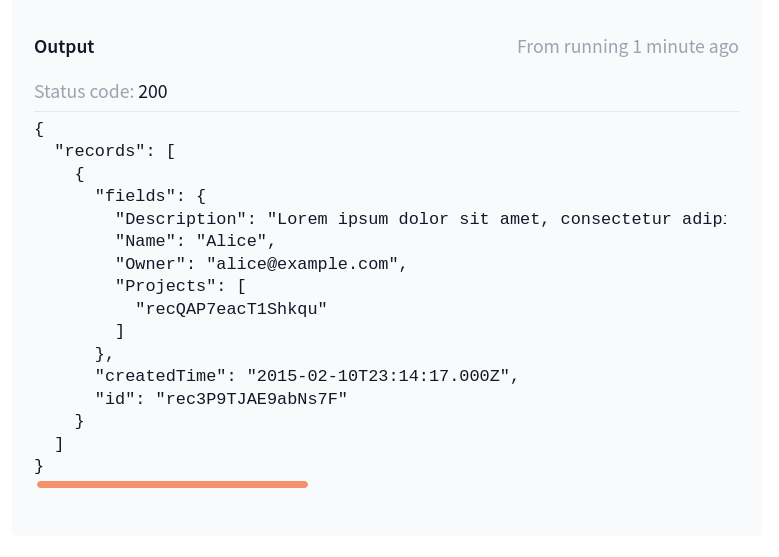
When you run this node, you will now only get the matching row(s).
Once you're happy with the results from the last node, continue to the Render UI node. This is where you design what you'll see in the FactBranch card in Dixa.
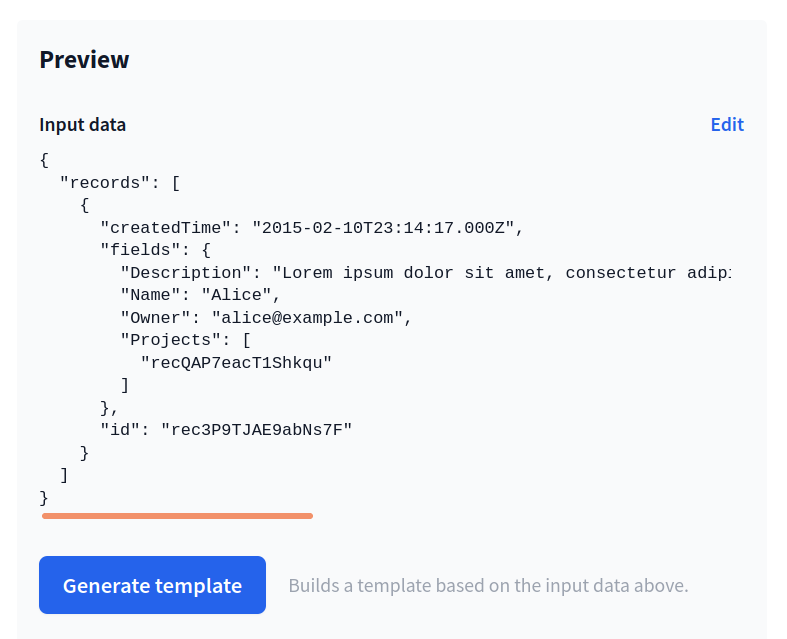
First make sure, the input data in the Preview box matches what the previous node generated as output data. If it doesn't or you're not sure, click Edit and then inherit outputs from previous node.
FactBranch can generate a simple template automatically. Just click on the button Generate template and it will try to generate a nice template based on the structure of your input data.
If you can't find the button Generate template, make sure the template editor itself is empty. The button only shows when that area is completely empty so it doesn't overwrite a template you've created yourself.
Once you've generated a template, you will see a preview on the right just below Output. This is what you'll see in Dixa.
If you're not happy with the generated template, you can of course edit the
template's code on the left, which is HTML plus a templating language called
Jinja2 (very similar to
the templating language "Liquid") to include dynamic placeholders, if/else-statements
and for-loops.
If you want to read about all the features of our template editor, head over to
the Render UI documentation.
It describes how to use placeholders, if/else-statements, for-loops, how to
build a table and much more.